How to create a Google Sheets-Facebook bundle using Zapier?

Discover efficient social media management with our article: ‘Sync Google Sheets & Facebook via Zapier.’ Streamline data sync, automate posts, save time, and ensure seamless platform integration.
We need to do the following to create a Google Sheets – Zapier – FaceBook bundle:
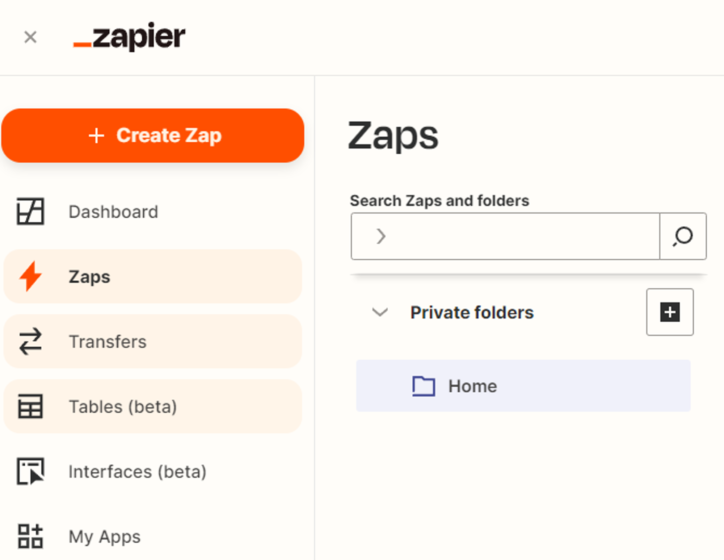
Go to https://zapier.com/app/zaps and click on “Create Zap“
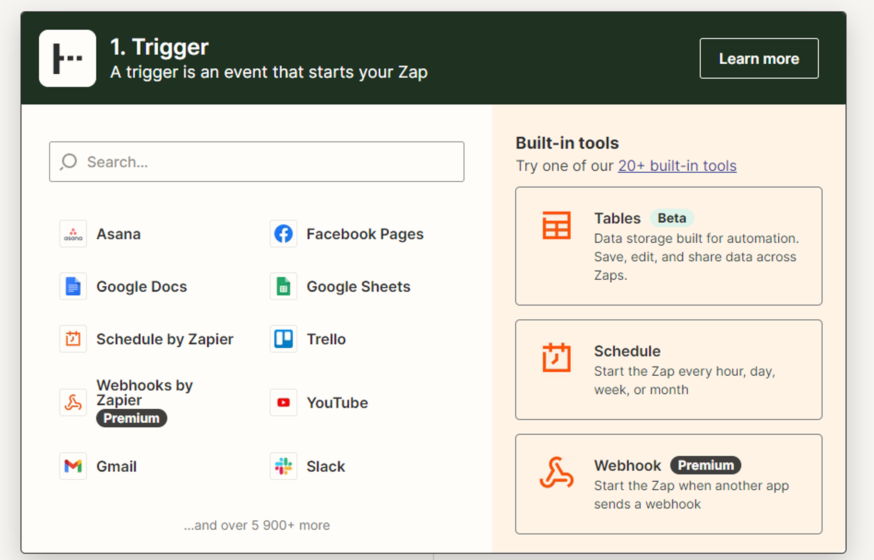
Choose the initial platform for the Zapier to work. In our case, it’s Google Sheets.
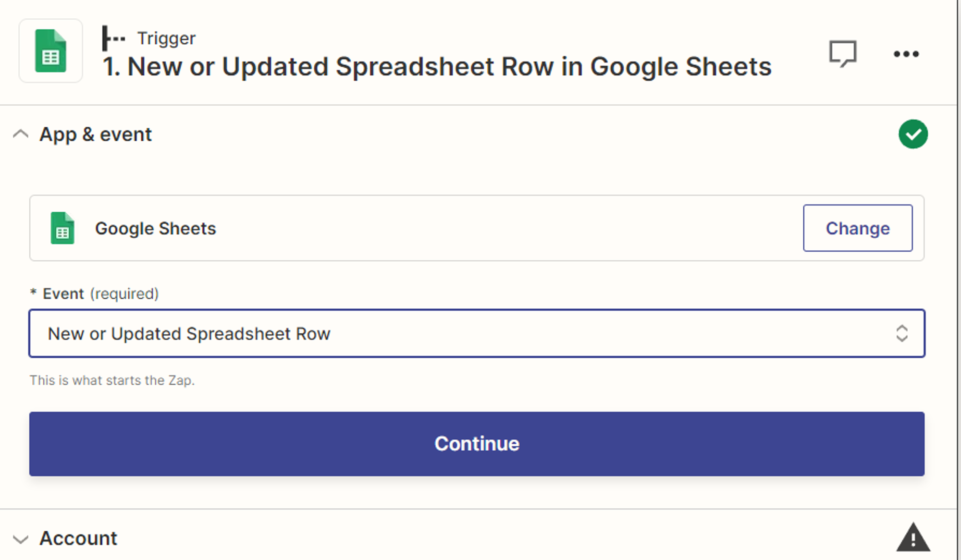
Next, select the event on which our Zapier will be triggered. Choose “New or Updated Spreadsheet Row” – this means that our Facebook post will be uploaded if we add/change a row in our document.
Next, select the account we want to connect Zapier to and provide the accesses.
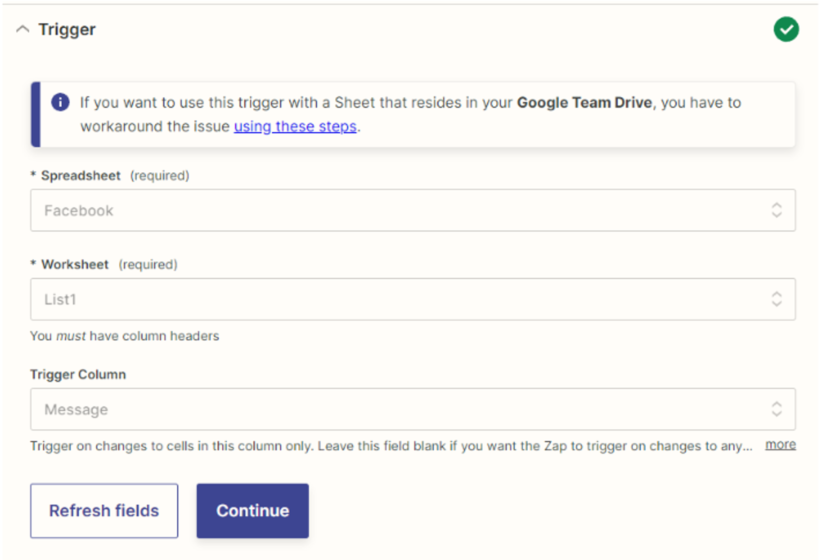
Zapier will unload all the available tables and offer to choose which one it needs to pull data from. After that, we select the sheet and set the trigger column by changing which we will cause the event.
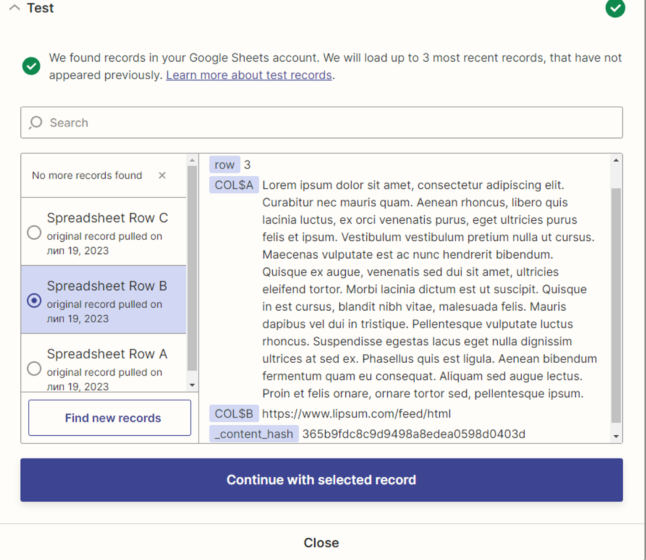
After analyzing the document, Zapier will automatically detect all the content fields and display them on the screen. Press “Continue” to continue.
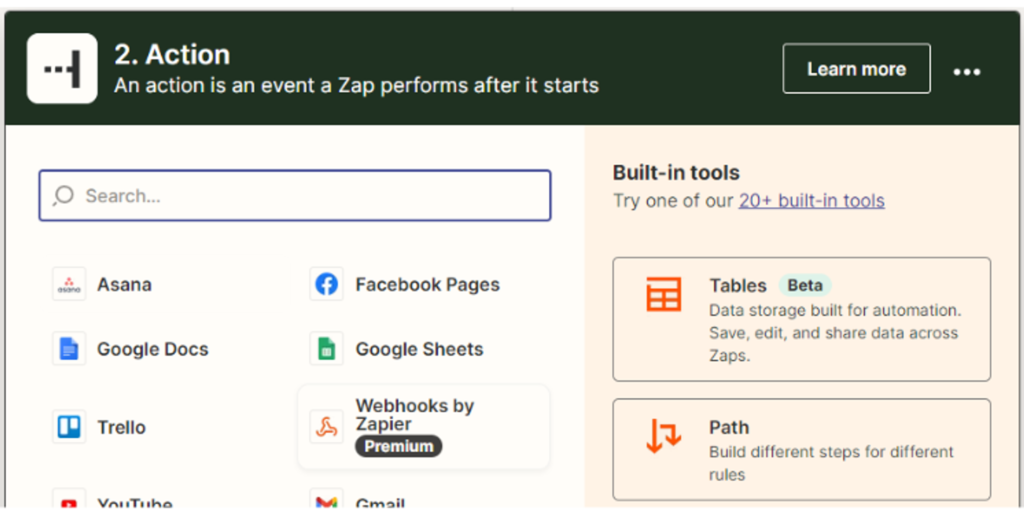
Next, we need to select which platform we will interact with. In our case, it’s a Facebook page. Choose it.
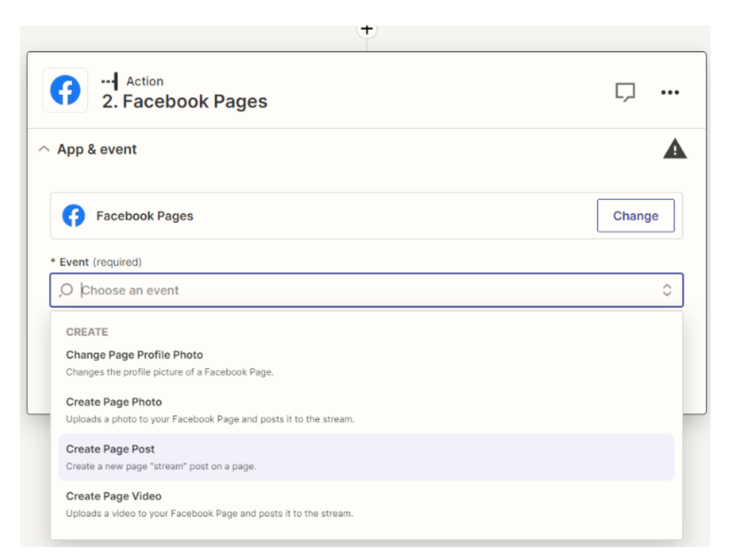
Pick the type of activity that will be performed. We will publish posts to the page, so choose the 3rd item.
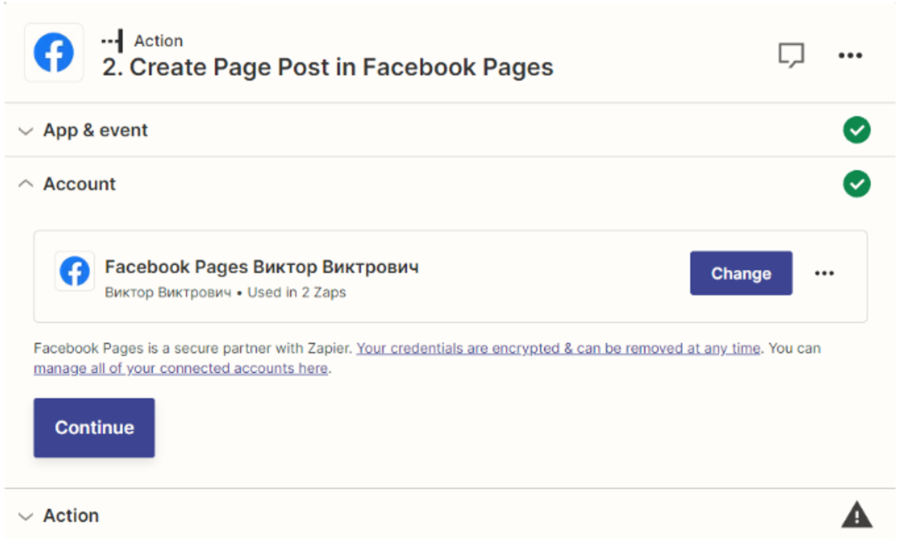
Next, we connect to Facebook and (if we don’t have one) create/select a page where our posts will be published. This all takes place inside the Zapier interface.
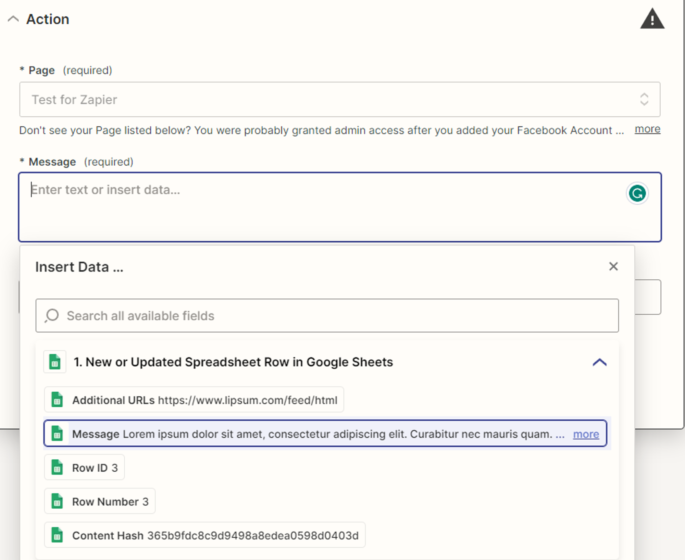
Next, we select our page for publishing. In the “Message” field, we select the Google Sheets data column from which we want to receive data. In our case, this column is called “Message”. We do the same with the “Link URL” field if we want to add a link to some resource from our document. For this purpose, we have created the “Additional URLs” column. Click “Test action” and proceed to our Facebook page.
As we can see, the trigger worked successfully.
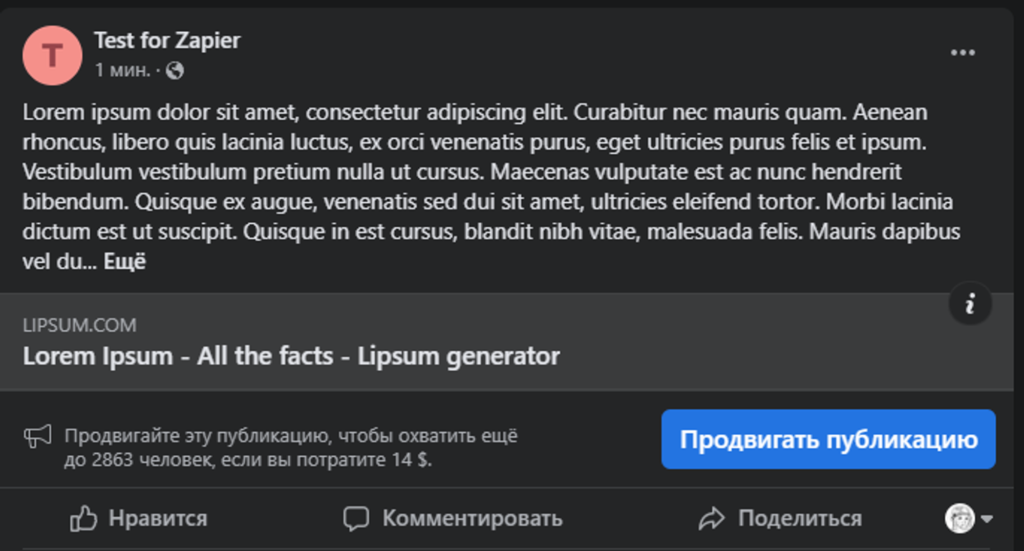
Important. The test trigger sends the post in a moment, and if you add new data to the table, the FB post will be created within 4-5 minutes.