How to integratе Airtable – Webhooks (Asana) bundle using Zapier?
Optimize project management in Asana with Airtable-Webhooks integration through Zapier. This guide makes it easy to create Asana sections for new Airtable entries, improving task organization and efficiency.
Creating a new section in Asana for new records in Airtable using webhooks (API Call).
How the integration works:
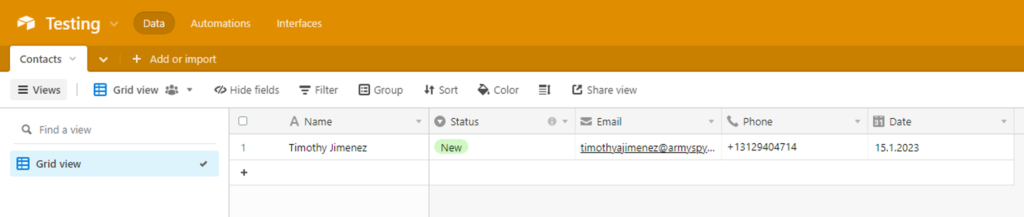
- A new record is created in Airtable.
- Zapier automatically sends an API request with the data to Asana.
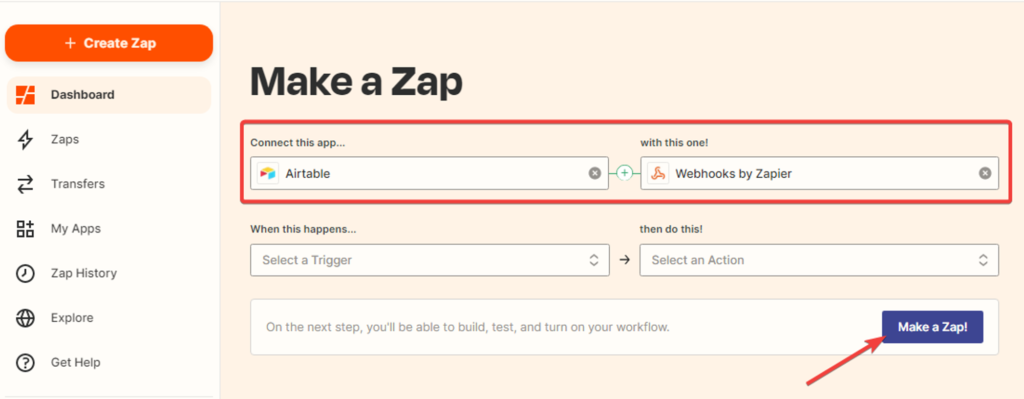
1. Creating a Zap. While on the “Dashboard” tab, select the applications “Airtable” and “Webhooks by Zapier,” then click the “Make a Zap” button.
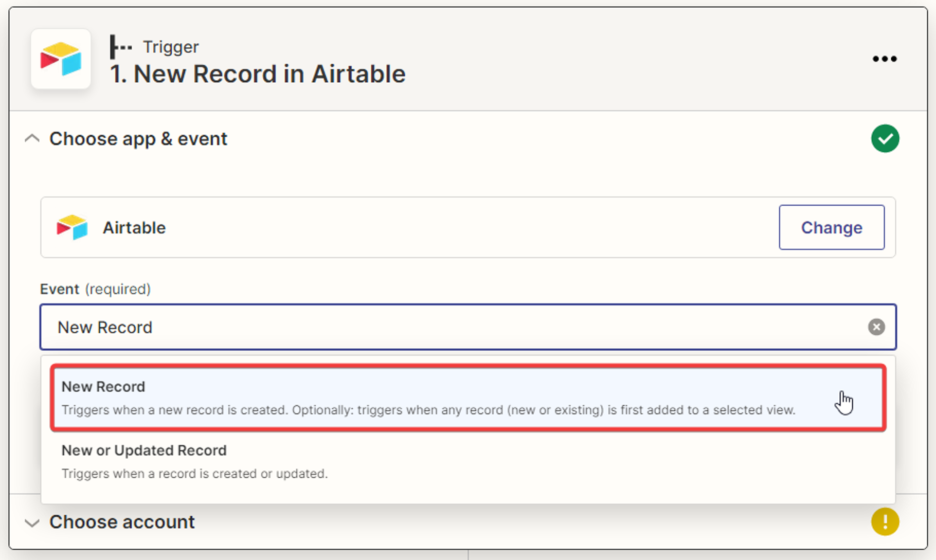
Setting up the trigger event in the “Airtable” service.
2. Selecting the trigger event… Choose “New Record” from the dropdown list and click “Continue.” The trigger will activate when a new record is created in Airtable.
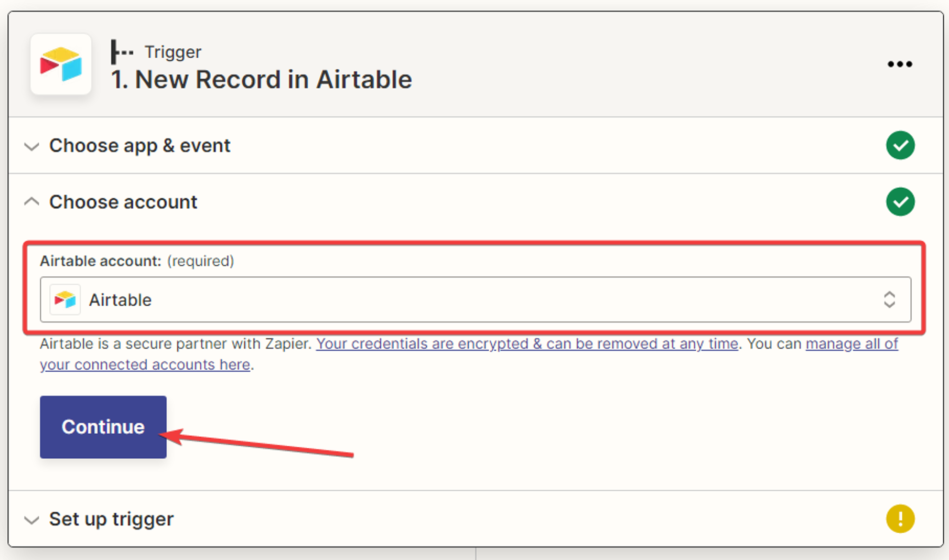
3. Next, you need to select your “Airtable” account and click “Continue.”
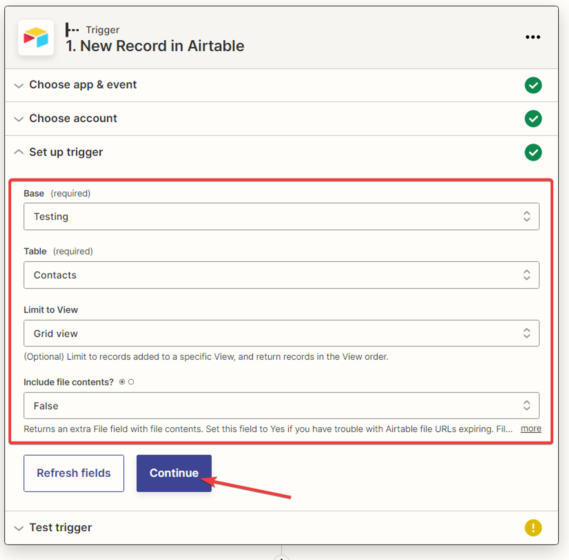
4. Next, you need to configure the trigger settings and click “Continue.”
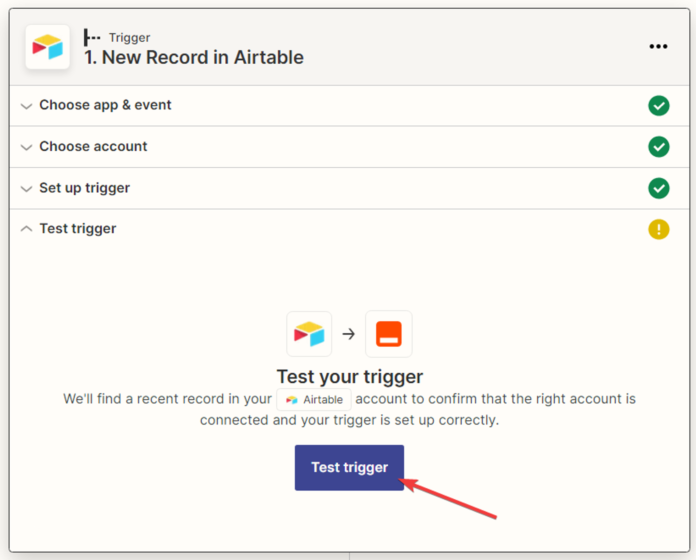
5. After that, you need to test the trigger by clicking “Test trigger.”
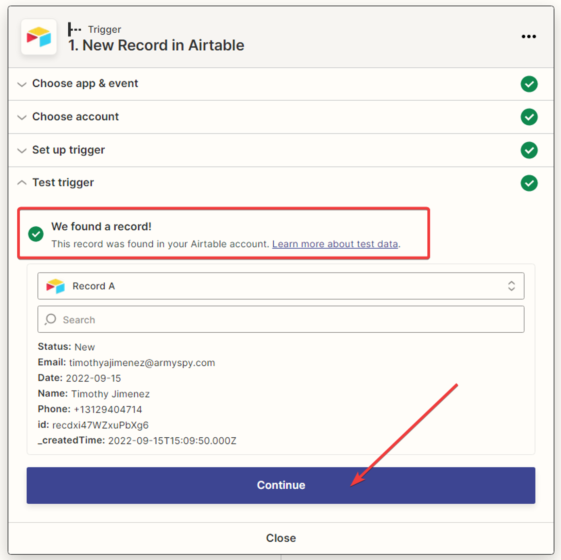
6. The next step is for Zapier to find the record in “Airtable” and display all the information available in its profile. Click the “Continue” button.
Setting up the action in the “Asana” service.
7. Let’s assume that in Zapier, there’s no possibility to create a section for the Asana application. In this case, we can’t use the Asana application.
If Zapier lacks an application or event for a specific application, you can use the Webhooks by Zapier application to send an API request to the required application.
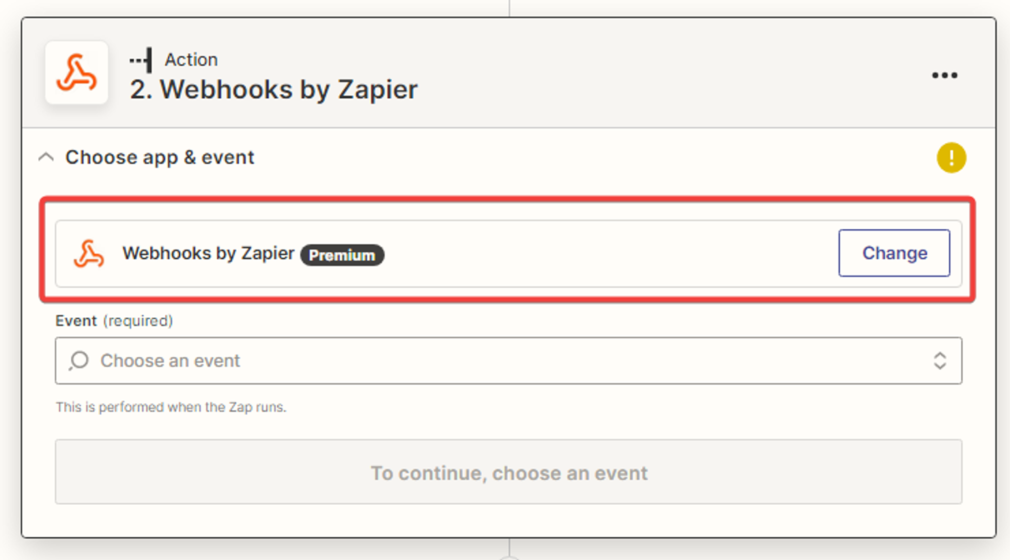
To do this, choose the action application “Webhooks by Zapier“.
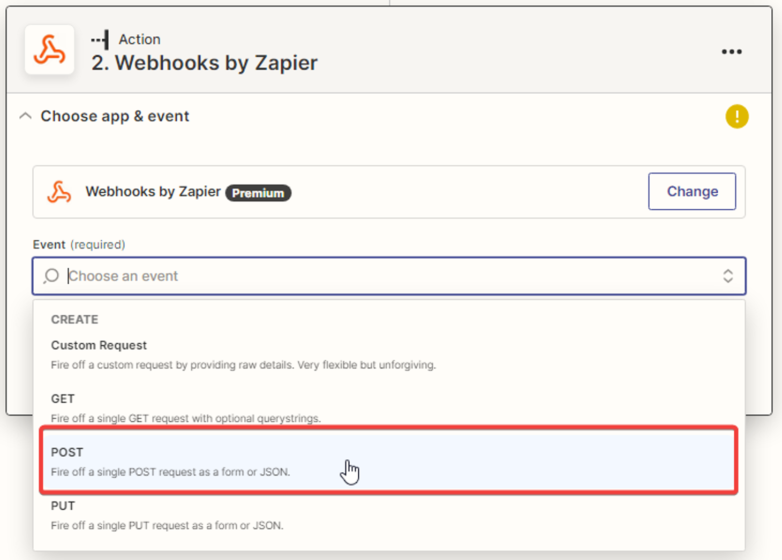
8. To send data, select the POST request and click “Continue“.
9. Next, you need to fill in the fields using the API documentation for Asana (see https://developers.asana.com/docs). Search for the relevant documentation on creating a section.
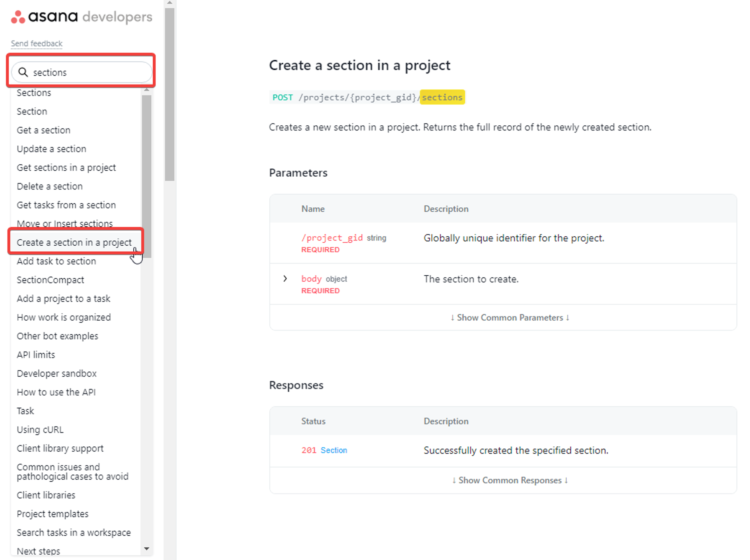
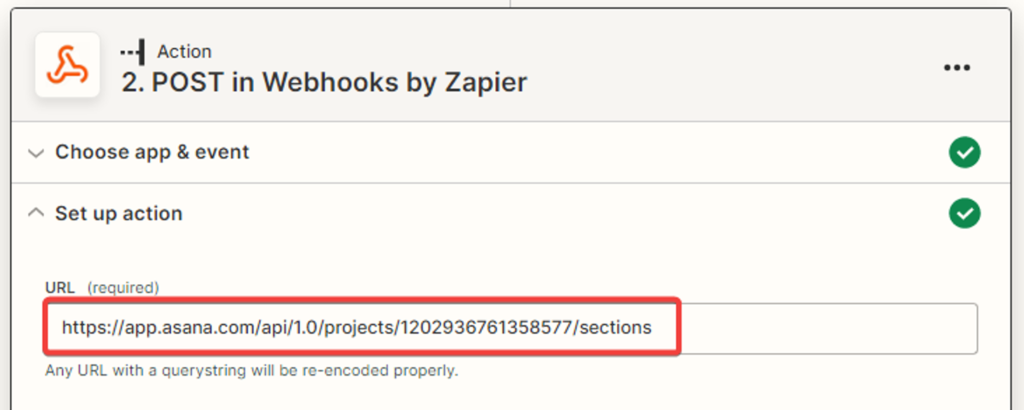
To fill in the URL field, you need to copy the requested URL from the same section of the documentation and paste it into the Zapier field.

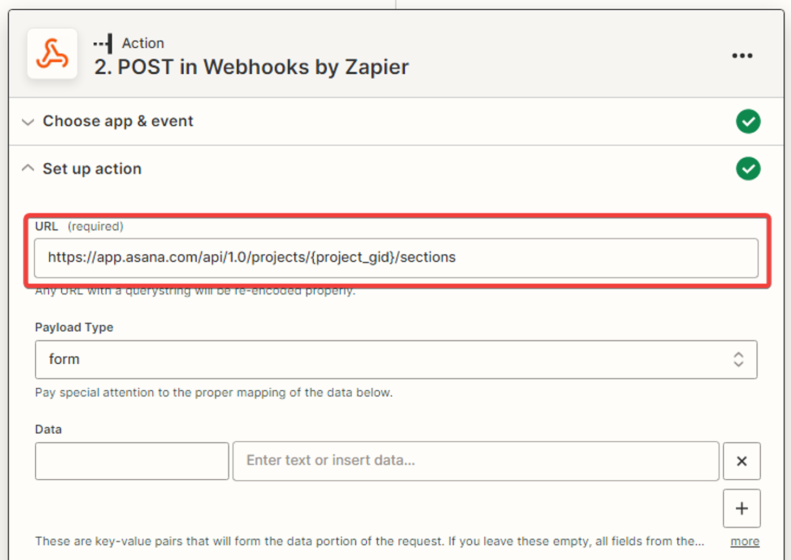
You should replace the data in curly braces {project_gid} with the project ID from the Asana URL.

In the end, the record will look like this:
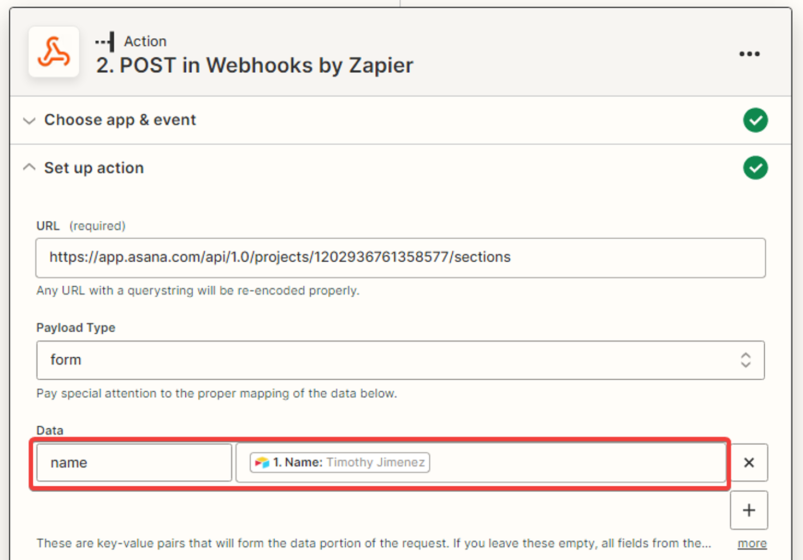
Next, you need to enter the REST parameters (body parameters).
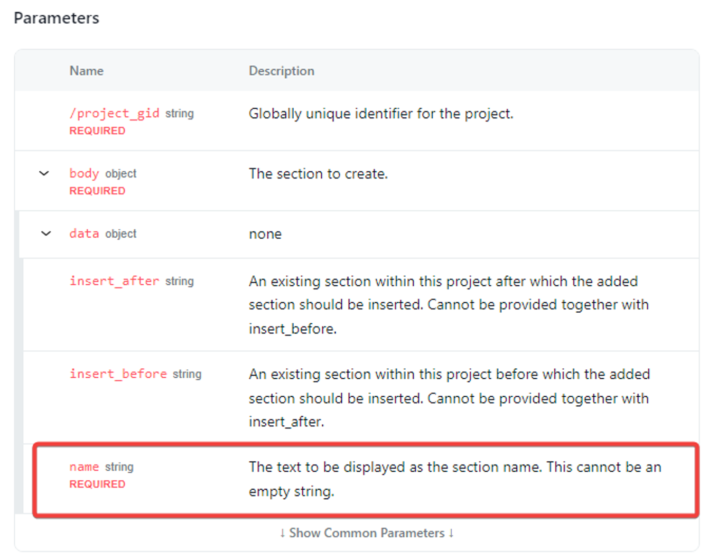
In the “Data” field, enter the parameter “name” and map this parameter to the corresponding Airtable variable.
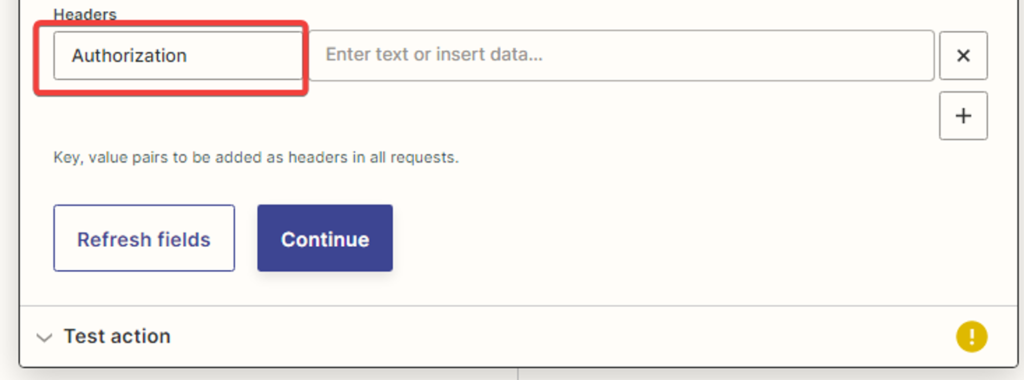
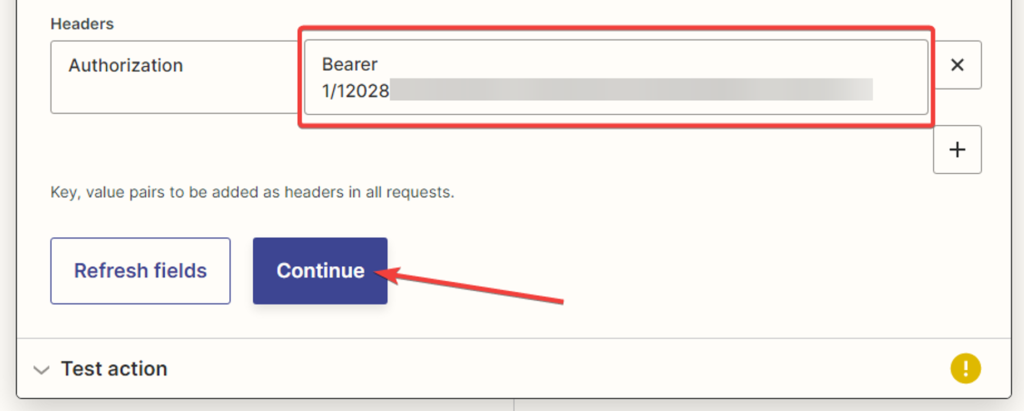
The next field to fill in is the “Headers.” In this field, you enter the header name and its key. In the left field, enter “Authorization,” and in the right field, enter the authorization key.
To copy it, you need to go to the settings in your Asana account.
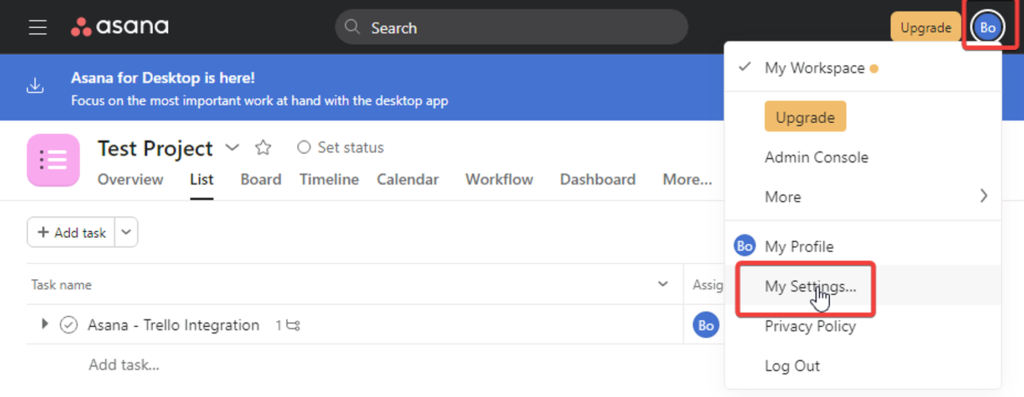
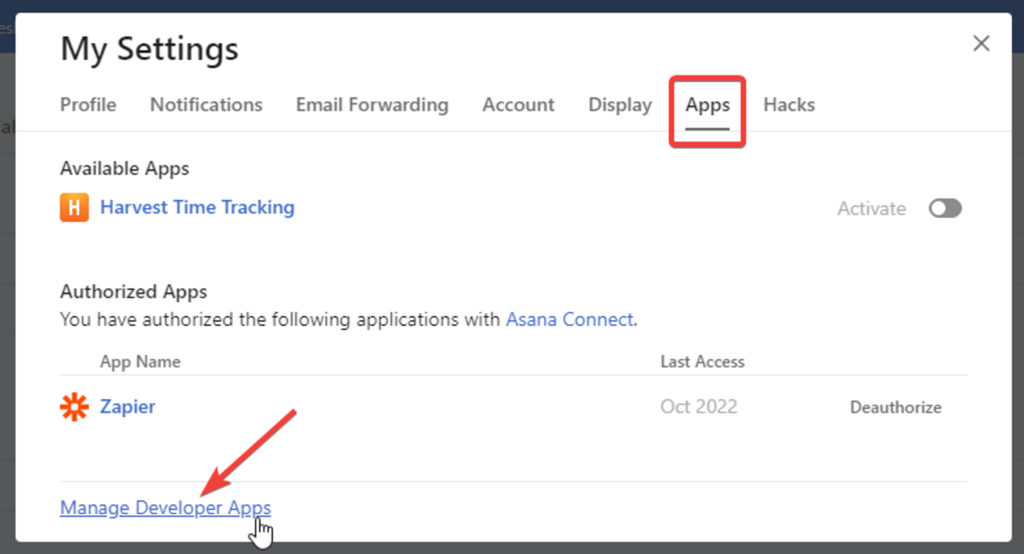
In the opened window, go to the “Apps” tab and click on the “Manage Developer Apps” link.
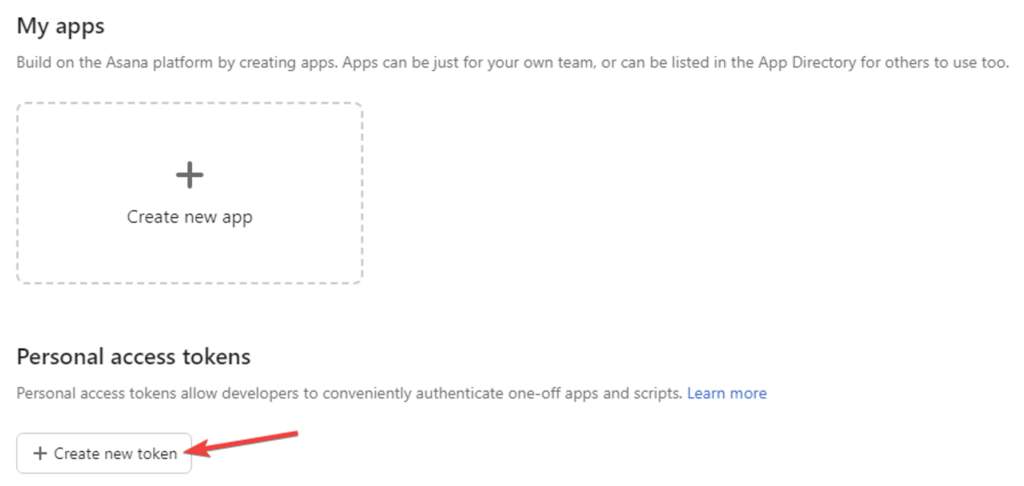
On the next page, click the “Create new token” button.
In the opened window, enter a chosen name for the token, check the checkbox, and click the “Create token” button.
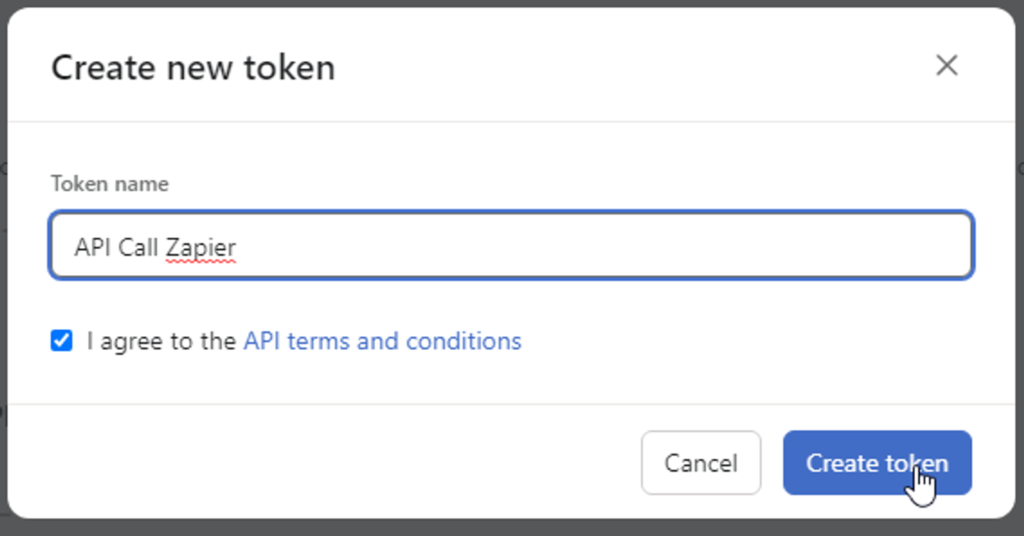
Copy the token.

Insert the token into the field on the right, adding the word “Bearer” before it. After filling in the fields, click the “Continue” button.
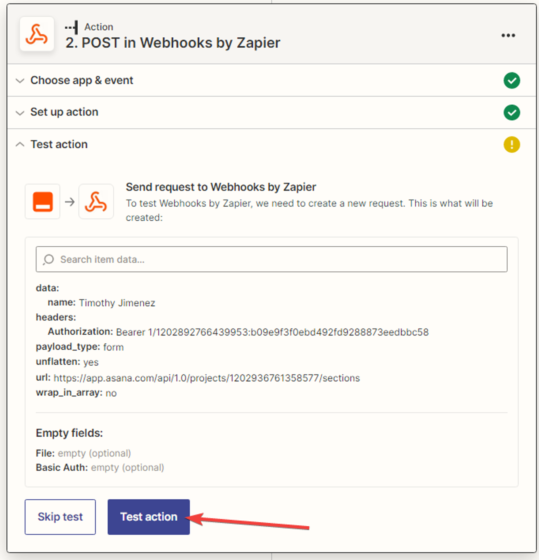
10. You need to test the connection between “Airtable” and “Asana.”
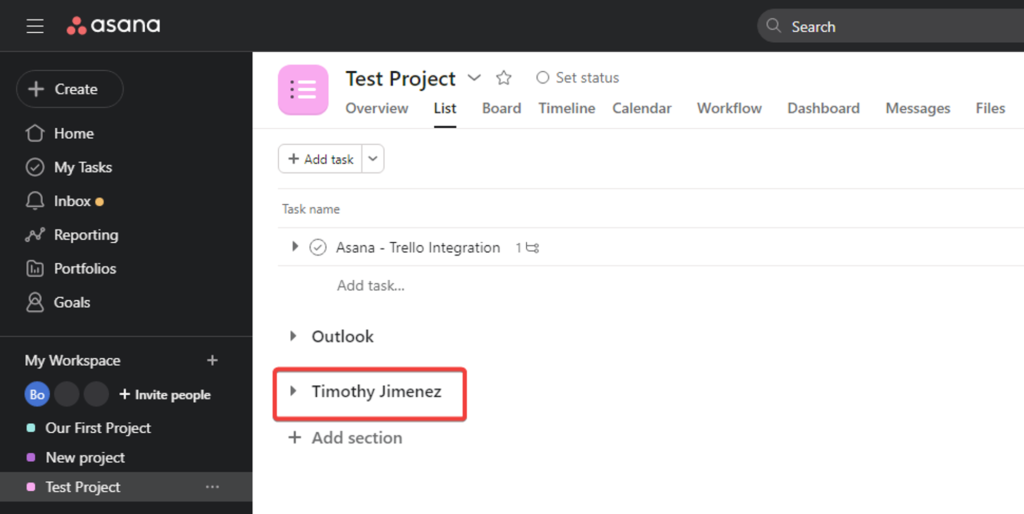
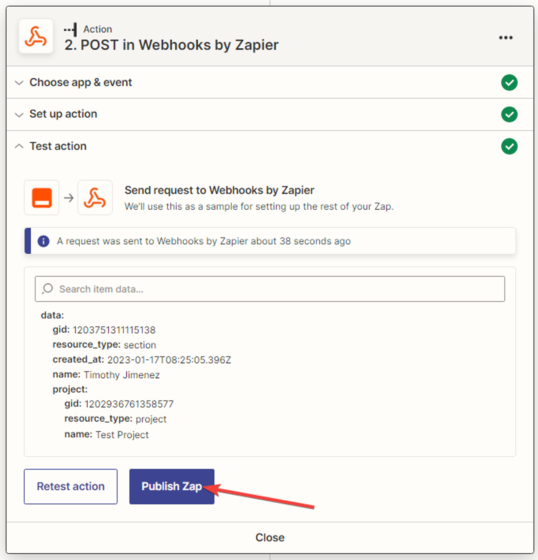
11. Checking test data in the Asana project. The section has been created.
12. After a successful test, click the “Publish Zap” button.
13. Zap is created, configured, and activated.